This comprehensive guide transforms the standard approach into a professional-grade system for cultivating high-yield, fiery Bird’s Eye Chillis (Chilli Padi) in a limited space.
Small Pot, Big Heat: The Master Gardener’s Guide to Homegrown Chilli Padi
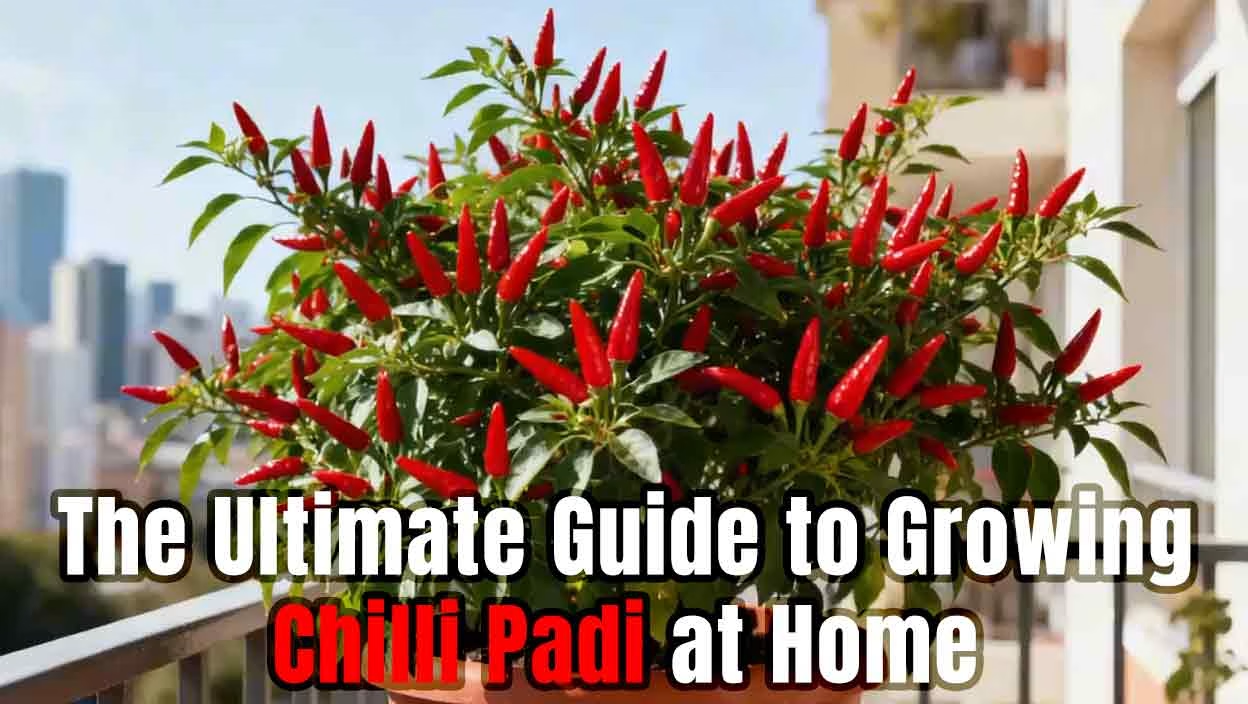
Chilli Padi is the perfect candidate for container gardening. It is hardy, aesthetically pleasing, and remarkably prolific if given the right “Master Gardener” shortcuts.
1. The Foundation: Potting Mix & Drainage
Standard garden soil is too heavy for pots and will eventually suffocate the roots. For a high-performing plant, you need a mix that breathes.
-
The Master Blend: Aim for a ratio of 2:1:1 (2 parts high-quality potting soil, 1 part organic compost or well-rotted manure, and 1 part perlite or burnt rice husk).
-
The Calcium Secret: Mix two tablespoons of crushed, dried eggshells into the soil before planting. This provides a slow-release calcium source that prevents Blossom End Rot (where the tips of the chillis turn black and mushy).
-
The Container: Ensure your pot has at least 3-4 drainage holes. A 10-inch (25cm) diameter pot is the “sweet spot” for a single, robust Chilli Padi plant.
2. Sun & Water: The “Stress” Strategy
Chillis are tropical plants that thrive on heat, but the secret to their spice lies in how you manage their water.
-
Sunlight: They require 6+ hours of direct sunlight. If you are growing on a balcony, place them in the brightest corner.
-
The “Spice” Trick: While the plant is growing, keep the soil consistently moist. However, once the green chillis have fully formed and are beginning to ripen, slightly reduce your watering frequency. This “water stress” signals the plant to increase capsaicin production, resulting in much hotter fruit.
-
Avoid “Wet Feet”: Never let the pot sit in a saucer of standing water, as this leads to root rot.
3. The Pruning Technique (The “Bushy” Secret)
Most home growers end up with a single, tall, lanky stem that produces 10 chillis. A Master Gardener wants a bush that produces 100.
-
The “Top” Cut: When your seedling is about 15-20cm tall and has at least 3-4 sets of true leaves, use clean scissors to snip off the very top growing tip.
-
The Result: This removes apical dominance and forces the plant to grow two or three main branches from the sides. More branches mean more flowers, and more flowers mean a massive harvest.
4. Feeding for Fruit
Nitrogen is great for leaves, but Potassium is what builds chillis.
-
Growth Phase: Use a balanced organic fertilizer every 2 weeks.
-
Flowering Phase: Once you see the first tiny white buds, switch to a fertilizer higher in Potassium (such as an N-P-K 12-12-17 blend).
-
Pollination Hack: Chilli Padi are self-pollinating, but in a still-air environment (like a screened balcony), they need help. Give the main stem a gentle shake every morning during the flowering stage to ensure the pollen travels from the anther to the stigma.
5. Pest Defense & Maintenance
In a home environment, Aphids and Whiteflies are your primary enemies.
-
The Neem Oil Shield: Spray the undersides of the leaves with a diluted Neem oil solution once a week as a preventative measure.
-
Cleanliness: Remove any yellowing leaves at the base of the plant to improve airflow and prevent fungal issues.
The Harvest Cycle
-
Pick Frequently: The more often you harvest, the more the plant is stimulated to produce.
-
Snap or Snip: Do not pull the chillis off, as this can damage the brittle branches. Use a pair of small snips or sharp scissors to cut the stem of the chilli.
Pro-Level Maintenance Checklist
| Action | Frequency | Why? |
| Feeding | Every 2 weeks | Use a potassium-high fertilizer (N-P-K 12-12-17) once flowers appear. |
| Pest Check | Weekly | Look under leaves for whiteflies or aphids. A simple neem oil spray works wonders. |
| Harvesting | As they ripen | The more you harvest, the more the plant is encouraged to produce new fruit. |