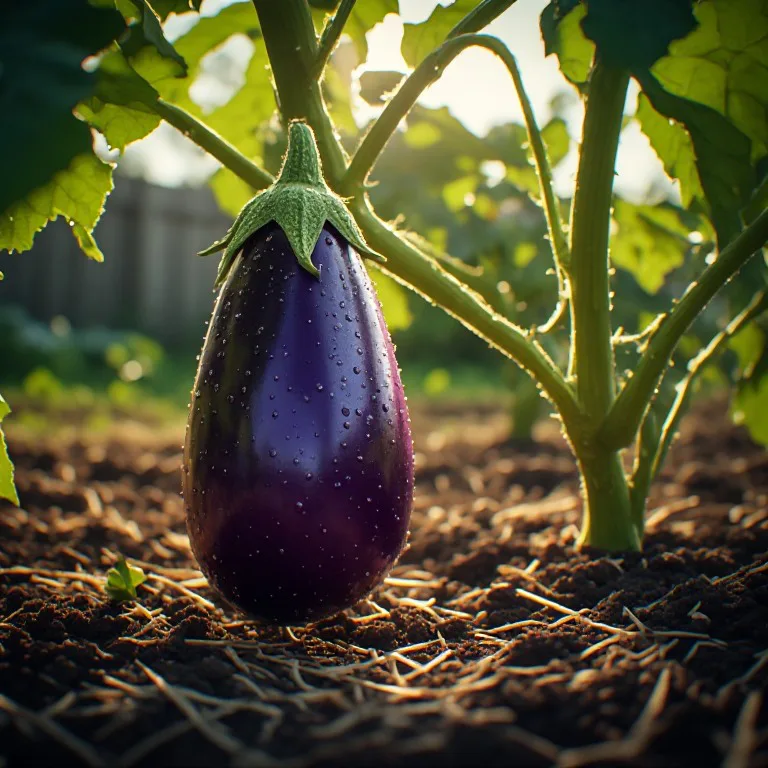
Eggplants are the undisputed crown jewels of the summer garden. When grown correctly, their heavy, glossy, deep-purple fruits are a magnificent sight nestled against vibrant green foliage. Yet, many backyard gardeners find them intimidating. From stubborn flea beetles to plants that grow massive leaves but refuse to set fruit, eggplants have earned a reputation for being a bit finicky.
The truth is, eggplants aren’t inherently difficult—they just know exactly what they want. By understanding their specific preferences for heat, nutrition, and support, you can easily unlock an abundant summer harvest.
Whether you are planting in a sprawling backyard raised bed or a compact balcony container, this definitive four-step blueprint will guide you from starter plant to a grocery-store-defying harvest.
Step 1: Pick Your Perfect Eggplant Variety
Success starts before you even dig a hole. Eggplants belong to the nightshade (Solanaceae) family, making them close cousins to tomatoes and peppers. However, different varieties have evolved to suit vastly different climates and culinary uses. Choosing the right one for your specific garden setup is crucial.
1. Classic Italian (e.g., Black Beauty)
These are the traditional teardrop-shaped, meaty eggplants perfect for baking, roasting, and making classic eggplant parmesan.
- Best for: Large garden beds or large containers, long and hot summers.
- What to know: They require a sustained period of high heat to mature and require sturdy structural support.
2. Asian Varieties (e.g., Ichiban, Ping Tung)
These varieties produce long, slender fruits with thin skins and a sweeter, milder flavor profile that rarely requires salting before cooking.
- Best for: Cooler climates or regions with shorter summers.
- What to know: They mature much faster and are significantly more forgiving of minor temperature drops than their Italian counterparts.
3. Container & Patio Varieties (e.g., Fairy Tale, Patio Baby)
These dwarf cultivars stay incredibly compact while producing clusters of beautiful, small, striped, or solid purple fruits.
- Best for: Balconies, patios, and small-space container gardening.
- What to know: They don’t need massive pots to thrive and look highly ornamental.
Pro Tip: If you live in a northern climate with short summers, always check the “days to maturity” on the seed packet or plant tag. Look for early-maturing varieties to ensure your plants bear fruit well before the autumn frost arrives.
Step 2: Prepare the Perfect Planting “Cocktail”
Eggplants are total sun worshippers and notorious “heavy feeders.” To give them the best start, you need to prepare a planting hole that caters to their high-energy lifestyle. They require a minimum of 6 to 8 hours of direct, unfiltered sunlight daily. If they are placed in a shaded spot, they will redirect all their energy into leafy growth and fail to produce blossoms.
When your soil is warm (ideally after all danger of frost has passed and night temperatures consistently stay above 50°F / 10°C), it’s time to plant.
The Planting Hole Recipe
Dig a hole that is twice as wide as your starter plant’s root ball and slightly deeper. Before placing the plant in the ground, toss the following directly into the hole:
- Two Large Handfuls of Aged Compost: This introduces vital organic matter, improves drainage, and feeds beneficial soil microbes.
- 1 Tablespoon of Balanced, Slow-Release Fertilizer: An organic 5-5-5 NPK blend provides a steady stream of nutrients over the coming weeks.
- A Handful of Crushed Eggshells or Bone Meal: This supplies crucial calcium to the soil, which acts as a safeguard against blossom-end rot later in the season.
Gently remove your starter plant from its nursery container, lightly tickle the roots if they are tightly bound, and place it into the hole. Bury it to the exact depth it was sitting in its original pot, then firmly press the surrounding soil to eliminate air pockets.
Step 3: Crucial Aftercare (Water, Mulch, and Support)
Once your eggplant is in the ground, its success hinges on consistent aftercare. Because eggplants are composed mostly of water, irregular moisture levels will lead to stressed plants and deformed, bitter fruit.
The Watering Golden Rule
Water your eggplants deeply but less frequently. Give them a thorough soak at the base of the plant 2 to 3 times a week rather than a light sprinkle every day. Always direct your hose or watering can at the soil level—wetting the foliage invites fungal diseases and blights.
Apply a Mulch Blanket
Immediately after planting, spread a 2-inch layer of organic mulch (such as straw, shredded leaves, or clean wood chips) around the base of the plant. Keep the mulch an inch away from the actual stem to prevent rot. Mulch fulfills three critical roles:
- It locks in soil moisture, preventing rapid evaporation.
- It regulates soil temperature during intense summer heatwaves.
- It creates a physical barrier that stops soil-borne fungal spores from splashing up onto the leaves during heavy rains.
Structural Support
Do not wait for your eggplant to start leaning before offering support. Heavy yields will snap branches with ease. Push a sturdy wooden stake or a small tomato cage into the ground directly after planting. Doing it early prevents you from accidentally piercing and damaging the expanding root system later on.
Step 4: Troubleshooting Pests and Mastering the Harvest
Even with perfect soil and water, eggplants are a magnet for one specific pest: Flea Beetles. These tiny, jumping black insects chew distinctive, pinhead-sized holes into the leaves, making them look like they’ve been shot with a miniature shotgun.
While a healthy, mature plant can handle some cosmetic flea beetle damage, a young seedling can quickly be stunted. To combat them organically, dust your plants with Diatomaceous Earth (DE) or apply organic Neem Oil early in the morning before the sun gets too hot.
The Harvest “Thumb Test”
Knowing when to harvest an eggplant is an art form. If you pick it too early, you lose out on yield; if you pick it too late, the seeds inside turn black, and the flesh becomes incredibly bitter and spongy.
Never judge an eggplant solely by its size—judge it by its skin.
 [ EGGPLANT HARVEST MATURITY GUIDE ]
 UNDER-RIPE PERFECT OVER-RIPE
 ┌──────────┐ ┌──────────┐ ┌──────────┐
 │ Hard │ │ Firm │ │ Soft/Dull│
 │ Matte │ │ Glossy │ │ Brownish │
 └──────────┘ └──────────┘ └──────────┘
No Indentation Bounces Back Slowly Deep Indentation
 (Harvest Now!) (Too Bitter)
To perform the Thumb Test, gently press your thumb against the side of the fruit:
- Too Hard: If the skin is rock-hard and doesn’t yield, it needs more time.
- Perfect: If the skin is incredibly glossy and your thumb leaves a slight indentation that slowly bounces back, it is at its peak flavor and texture.
- Overripe: If the skin looks dull, has turned a slightly brownish-purple, and your thumb leaves a permanent, soft indentation, it is overripe.
When you are ready to harvest, never pull or twist the fruit from the bush. Eggplant stems are remarkably tough, and pulling them can easily snap entire branches. Instead, use a sharp pair of pruning shears or scissors to cleanly snip the stem, leaving about an inch of green cap (the calyx) attached to the top of the fruit.
By selecting the right variety for your zone, pampering the soil, maintaining steady hydration, and harvesting at the peak of glossiness, you will enjoy a continuous supply of homegrown eggplants all summer long.